

How To Build A Tower In Valheim

The world inside the Viking-themed survival game Valheim is a beautiful one, just looks don't tell the total story. At that place are several dangerous enemies that lurk in the shadows of the land, and powerful rainstorms are threatening too. Therefore, y'all're going to need to build a solid and sturdy base that you can use for shelter, storing supplies, crafting gear, and more than. Dissimilar a lot of other survival games, though, you accept to worry near things like structural integrity and fume generated past fires in Valheim. Considering of this, building a base in Valheim is catchy, and y'all tin (and likely will) come across bug if y'all don't do it properly. With that said, don't worry — we're here to help. Hither are some helpful building tips, tricks, and strategies that will help you meliorate your base-building skills.
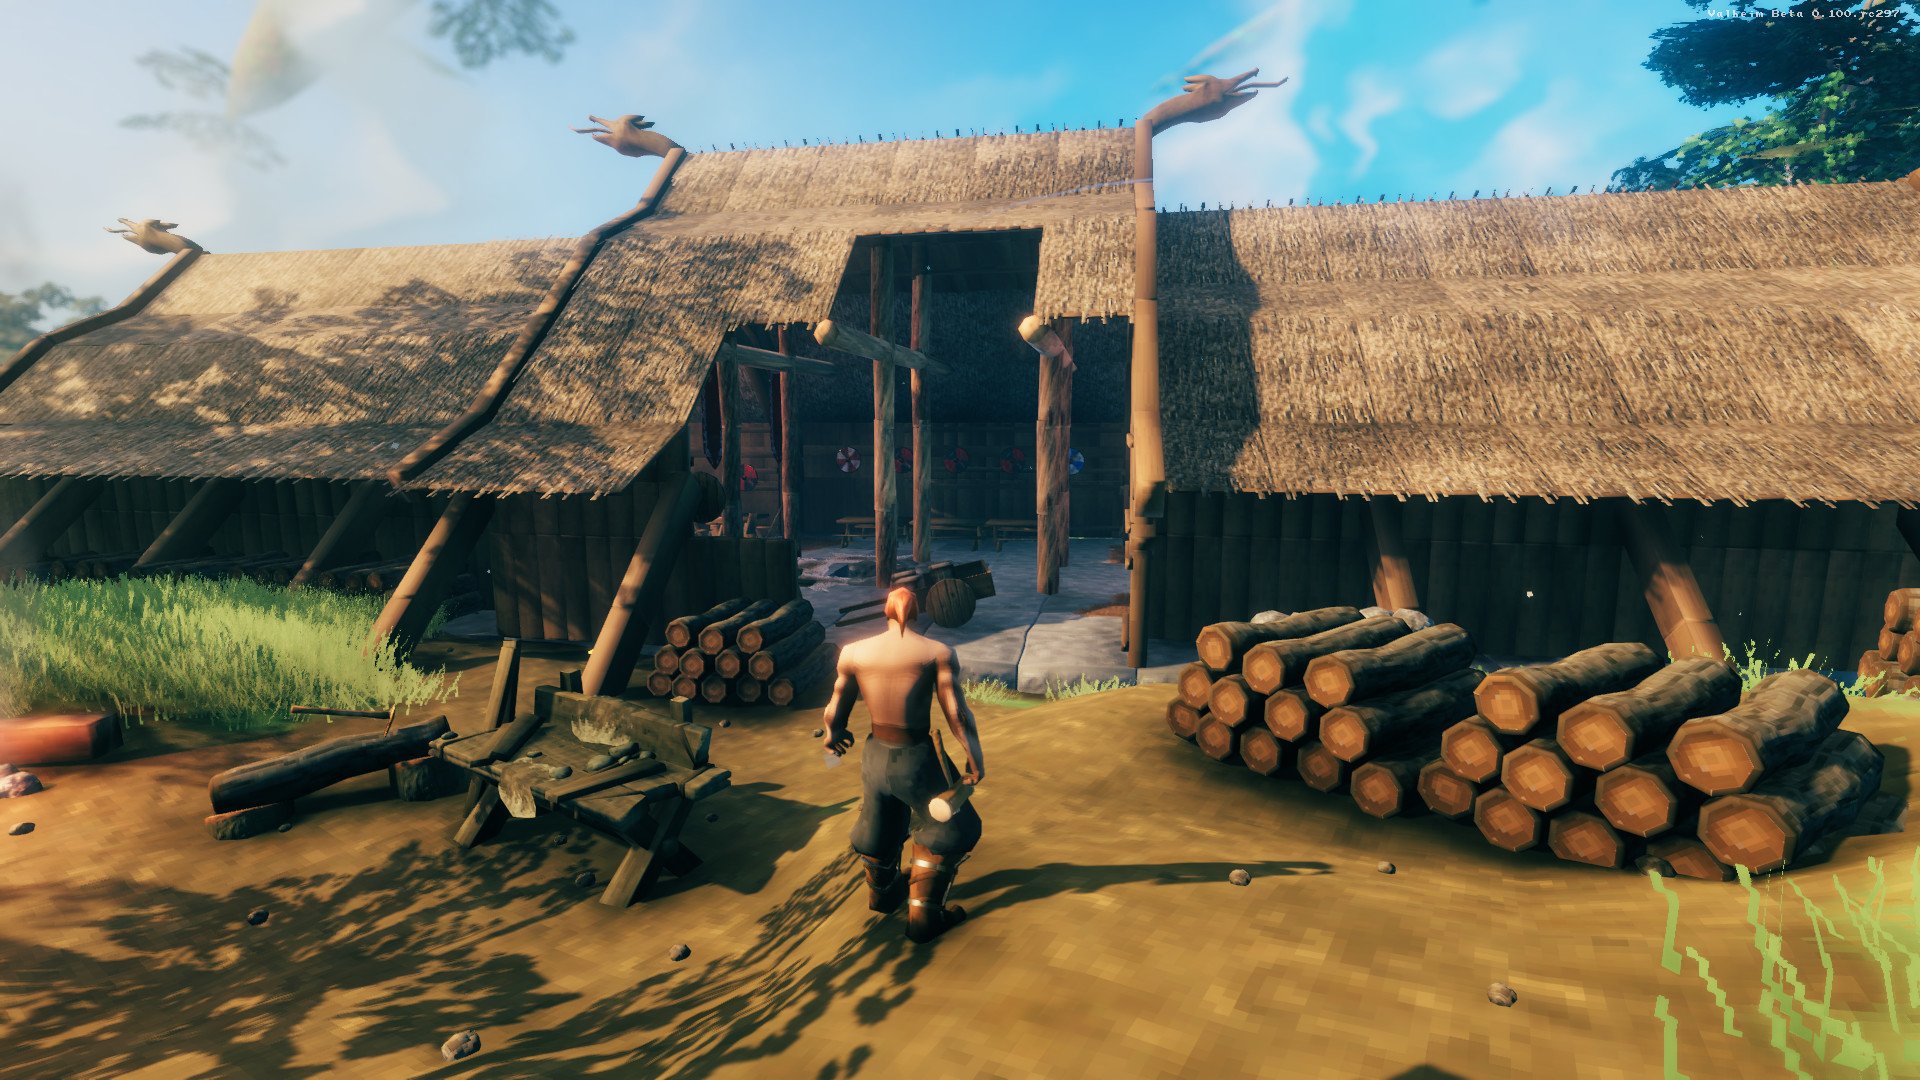
Valheim building guide: Basics for beginners
Getting started with base building in Valheim is a little confusing, but these tips and suggestions will assist new players become started on the right foot.
- After yous arts and crafts your hammer and build a workbench, build some small walls and a roof around it so you can craft a hoe (5x Wood, 2x Stone) with information technology. You can then use the hoe to level out a nice flat spot for your base of operations. The hoe levels based on where you're standing, so find a height y'all like and stand still while leveling the footing around you.
- It'southward a good idea to start past placing your floor first, as this gives y'all a stable, sturdy foundation to piece of work on.
- You can snap wall pieces to the floors to get started on your walls. Enhance the walls as high as yous'd like by snapping more than wall pieces on height of existing walls, and then top the walls off with slanted triangular wall pieces that connect to form a point. Fill in the holes underneath the slanted pieces with normal walls.
- Finally, connect roof pieces that match the angle of your slanted walls to the inside edge of said walls. Then connect additional roof pieces across the height of your base of operations to finish.
- If you made your base high plenty, you can add a second flooring. To exercise this, simply snap floor pieces to the walls above your first-floor walls and so build stairs that connect to that floor.
- When y'all wait at a construction piece you've placed while in build manner, you'll find a color — blue, dark-green, xanthous, orange, or red. These colors represent structural stability. Bluish is the about stable, while carmine is the least.
- Additions can't be made to pieces that are red, so make an endeavor to keep your base of operations structure supported. Yous tin do this past connecting parts of your structure to the ground with beams. You tin besides connect different parts of your base together with beams to accomplish a similar effect.
- Don't exist afraid to annihilate a construction piece to reposition it if necessary, every bit you'll get all of your materials back when you practise so.
- Campfires that you need for cooking and warmth can't be placed on floors, only you can get around this by destroying a floor piece, placing a campfire on the clay underneath, then adding the floor piece back.
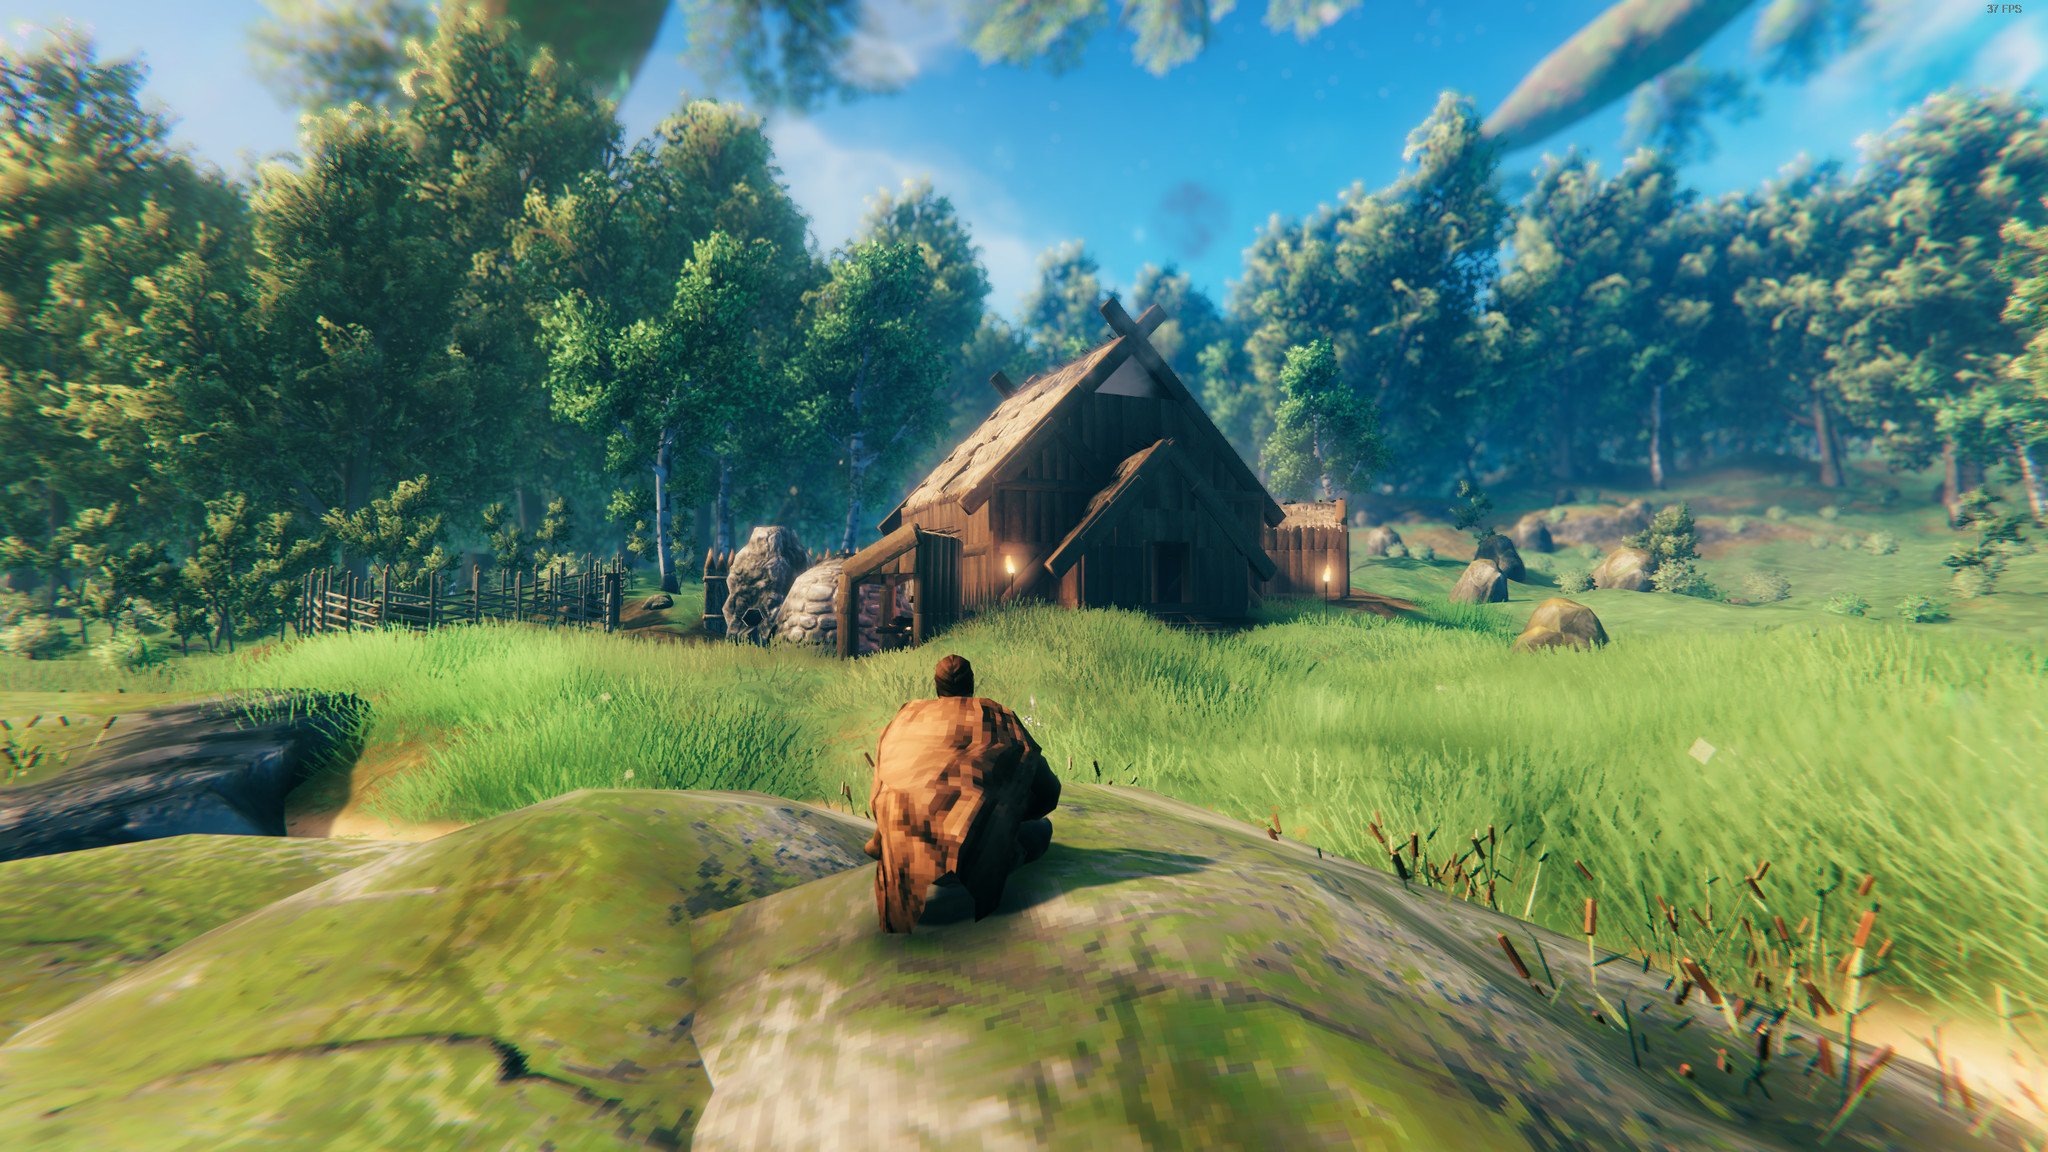
- Campfires generate smoke, and without ventilation, y'all'll asphyxiate on the smoke and take damage until decease. Therefore, you need to create a style for the fume to escape your base without also allowing rain to arrive and put the fire out.
- Some good basic strategies for accomplishing this include rotating the roof slice to a higher place the burn down then that it points towards the sky, building a chimney side by side to the fire with walls, and leaving a department of your upper walls open (as seen in the image higher up).
- Try and place your ventilation system near your campfire then that smoke doesn't have to travel far to escape.
Valheim building guide: Building defensive structures
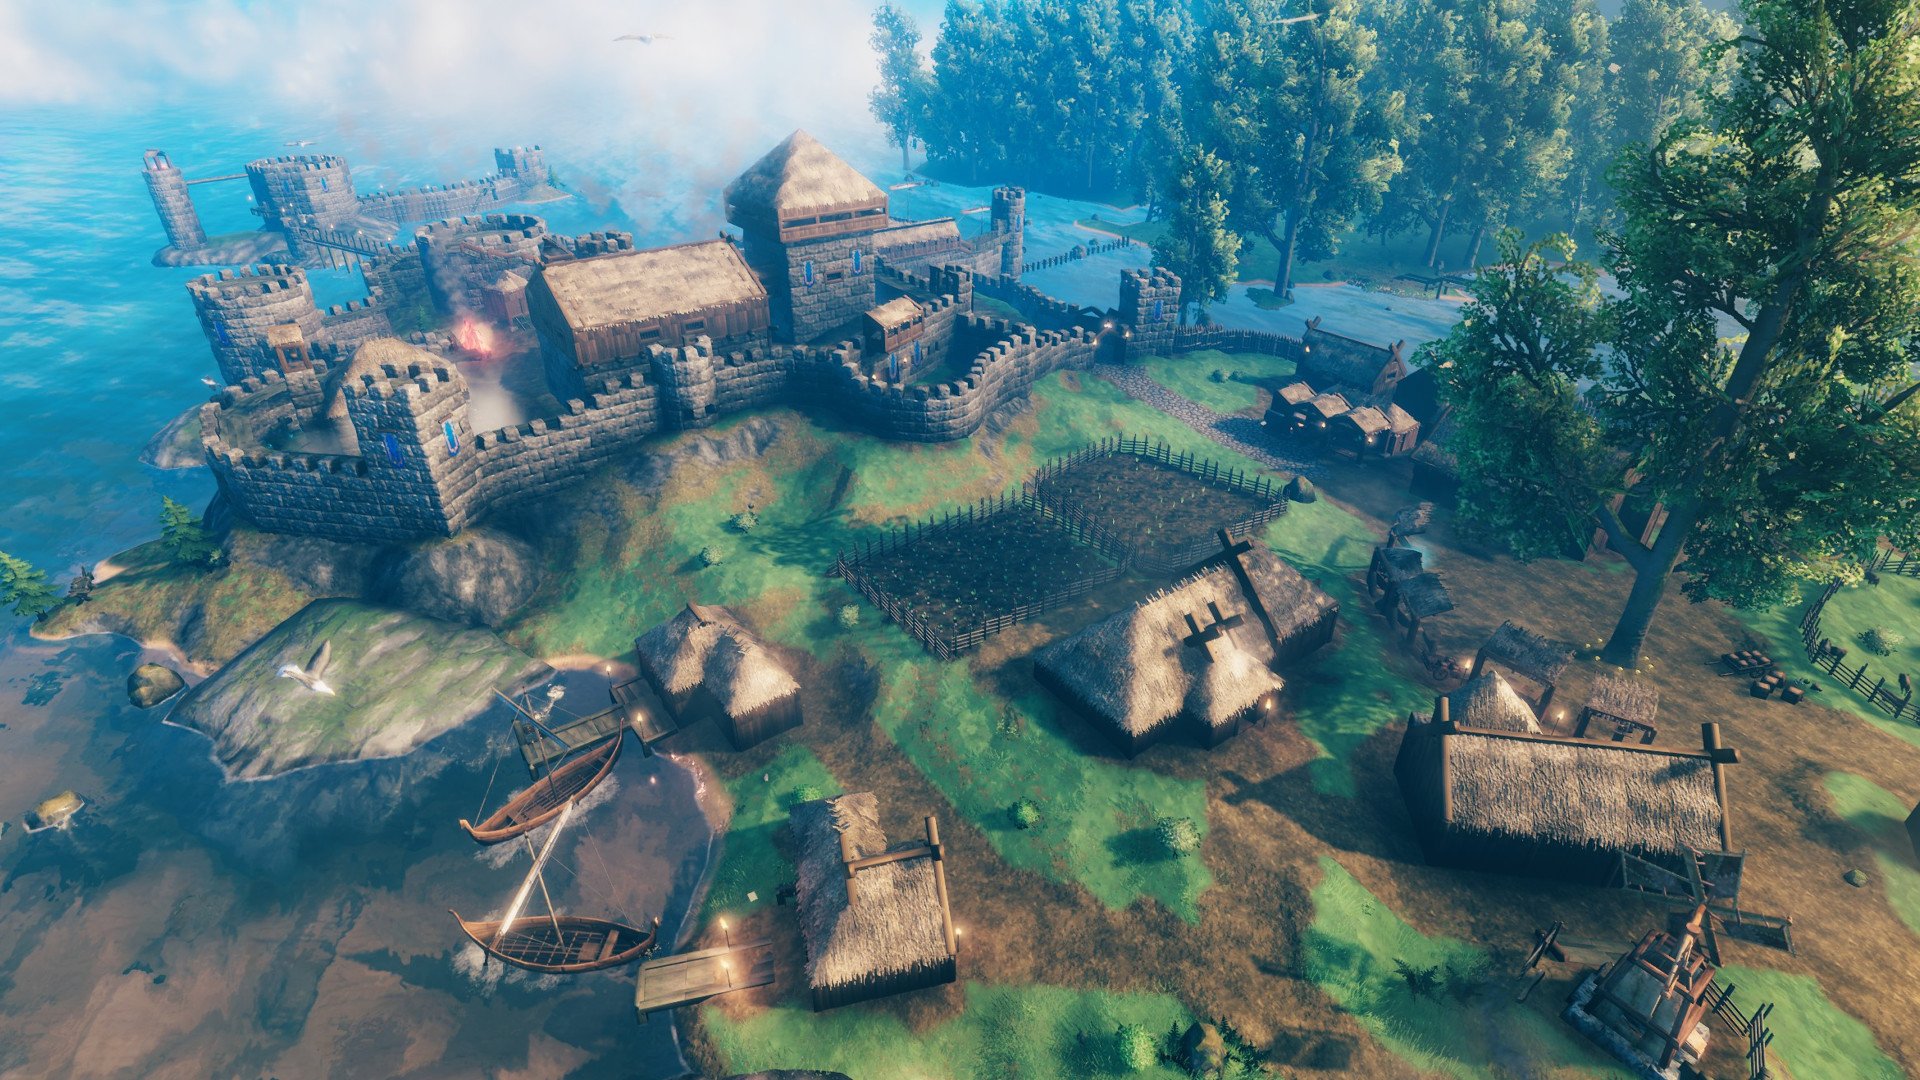
Occasionally hordes of enemies will assault your base of operations, and if you just hide, they'll tear it downwardly to go to yous. Therefore, you need to fight them, simply how can you lot practice effectively when you're outnumbered 20 to one? The answer lies with the use of defensive fortifications. Here are some tips that volition assist you make and use constructive defenses.
- Surrounding your base with stake traps and stakewalls is a great way to even the odds during raids. Pale traps will damage enemies that run into them, while stakewalls will help funnel enemies into chokepoints (this will typically exist your admission gate).
- You can also snap flooring to the back of stakewalls to create battlements that you can apply to shoot arrows and throw spears from. You can admission the floors by placing stairs. When placing your stakewalls, make sure the dorsum of them is facing your base.
- Y'all can also build sniper towers if you want to become a higher vantage point to shoot from. For this, you'll need to use support beams, floor pieces to stand on, and stair pieces that connect the tower to the footing.
- You can also make utilise of half walls to create windows in structures that you can shoot out of. This is especially useful for secondary fallback positions that you might need to autumn back to if your perimeter defense is breached.
- You lot can utilize a pickaxe to create trenches or even a moat around your base. Once you lot fortify your base's main entry point, these hazards volition perfectly funnel enemies into your kill box.
- Once you get admission to stone structures later in the game, you should use them in place of wood for well-nigh defensive fortifications. They are much tougher, and as a result, it will have much longer for enemies to destroy them.
Valheim building guide: Avant-garde tips and tricks
These strategies and tools are intended for people who know the nuts and tin create functional structures but want to know how they can create more advanced structures and/or furnish their base of operations with decorations.
- If y'all don't like how an object is snapping, hold Left Shift. This disables the snapping feature and allows y'all to place structure pieces with more liberty and precision.
- You tin recess your base's walls for a fancier look. To practise this, place a door on each side of your foundation one place dorsum from the border. Then snap a wall to each door. Then disassemble the doors (except the one you want to use) and connect your walls together. Finally, you tin can snap patterns of back up beams to the outside of your walls to complete the recessed look.
- Utilize a combination of 45-degree and 26-degree slanted walls and roofs for advanced roof designs. Doing this can give a base of operations a very unique style.
- Information technology's possible, although difficult, to build into the side of steep hills. You'll need a pickaxe in order to dig into the hillside, just the advantage of this is that it gives your base actress stability as well as a natural high ground position against attacking raiders if you're on a high function of the hill.
- The massive Aboriginal Trees in the Swamp biome are strong enough to deed as building foundations. With creative and frequent use of support beams, information technology's possible to build treehouses effectually them.
- Once you obtain copper, you lot can use it to brand wall sconces for improved interior lighting.
- If you make a bronze axe, you can cut down birch and oak trees for fine wood. This special wood type tin can be used to create pieces of furniture for your base like chairs, tables, benches, and banners. Notably, you can also create rugs with deer and wolf hibernate.
- If you'd like to display an particular you lot detect in the globe, such as a boss bays, y'all can practise so past creating an item stand. There's a horizontal variant for tables and a vertical variant for walls. It can be crafted with 1x Statuary Nails and 4x Fine Woods.
Questions?
Accept whatever further questions about base-building in Valheim? If so, don't hesitate to reach out and nosotros'll promptly reply in the comments. Also, don't miss our guides on how to discover, summon, and defeat every dominate and how to chase for nutrient, leather, and hide.
Valheim is available now in Early Access for $20 on Steam. I highly recommend playing it if you lot haven't gotten it already, equally it'southward easily one of the best survival games for PC available.

Valheim
Norse-themed survival FTW
Valheim is a challenging, all the same incredibly fun survival game gear up in a world heavily inspired by Norse mythology. Build, craft, scavenge, and hunt your way to success.

How To Build A Tower In Valheim,
Source: https://www.windowscentral.com/valheim-building-guide-build-your-base-right-way
Posted by: hermanwitilty.blogspot.com
0 Response to "How To Build A Tower In Valheim"
Post a Comment